
Yearbook Academy / Intermediate photography
From Lucky Frames to Intentional Photographs
Repeatable photographs begin with a clear intention, deliberate choices, and an honest review of the result.
Connect intention, light, timing, framing, and a dependable workflow across portraits, events, street scenes, products, and landscapes. These exercises help you make thoughtful photographs more consistently. They offer starting points, not universal rules.
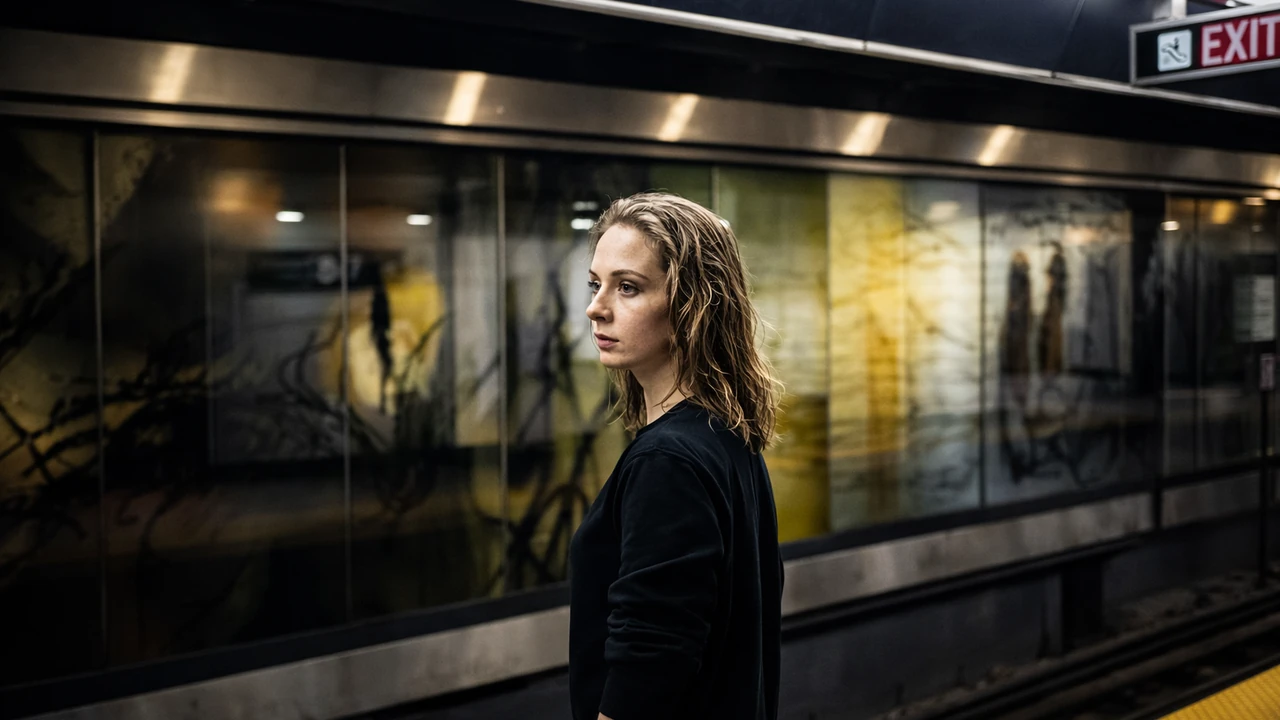
The Kingdom’s characters are fictional teaching voices. Try the prompts, observe the result, and make your own decisions.
Lesson 01
1. Give the photograph a job
Write a one-sentence brief: who or what matters, what the viewer should notice, and how the image will be used. A portrait might communicate quiet confidence; an event image might show connection; a product photograph might explain shape. A landscape can express scale without including everything.
Translate that brief into distance, viewpoint, orientation, and a likely moment. Define success, then name one constraint: limited time, changing light, a busy background, or a subject who needs direction. This keeps experimentation purposeful.
Try this
Write three briefs for one subject. Make one photograph for each, changing your approach deliberately.
Lesson 02
2. Read light before changing equipment
Look for light direction, shadow edges, and contrast. Side light reveals texture; frontal light can simplify it; backlight can separate a subject. A large apparent source usually produces softer shadow transitions than a small one. Move the subject or camera and observe.
A reflector returns existing light into shadows. White gives gentler fill; silver can be stronger and more directional. Avoid dazzling people. With products, watch reflections as carefully as shadows. In landscapes and street work, changing position or waiting can be your most useful lighting adjustment.
Try this
Photograph one subject with front, side, and backlight. Add a reflector and compare shadow detail.
Lesson 03
3. Protect the information that matters
Choose an exposure priority from the brief. Movement may make shutter speed critical; subject separation may make aperture important. ISO accommodates those choices, with image-quality tradeoffs depending on your camera and output. Automatic, priority, and manual modes all support intentional work when you understand their decisions.
Review the histogram and highlight warnings alongside the image. They reveal brightness distribution and potential clipping. A bright reflection differs from lost detail in a face or important cloud. Previews can differ from raw rendering. Protect essential detail and check again when light changes.
Try this
Make an exposure series in a contrasty scene. Identify which frame preserves your brief’s essential detail.
Lesson 04
4. Match focus and depth to the action
Match focus behavior to the subject. Single autofocus can suit stillness; continuous autofocus can help with movement. Learn how your camera selects or tracks a subject, and verify what it focused on. Detection tools can select the wrong person or object.
Depth of field changes with aperture, focusing distance, and framing. Decide which details must remain readable. Anticipate a moving subject’s path, leave room in the frame, and choose whether motion should appear frozen or blurred. Check sharpness at meaningful detail, beyond the small preview.
Try this
Photograph movement twice: emphasize crisp detail in one version and deliberate motion blur in another.
Lesson 05
5. Build the frame, then watch the moment
Inspect edges and background. Move to remove distractions, separate overlapping shapes, or establish context. In portraits, watch hands and posture; at events, anticipate exchanges; on the street, notice movement through your chosen space. With products and landscapes, small viewpoint changes can clarify structure.
Make short sequences with a reason: the lead-in, gesture, and aftermath. Between sequences, reassess. More frames do not automatically create more choices. When directing someone, offer a simple action and leave space for their response. Seek moments that communicate.
Try this
Make a sequence showing a beginning, central gesture, and aftermath. Select the strongest single frame too.
Lesson 06
6. Edit for coherence, not rescue
Build a contact sheet to compare images together. Select for meaning, gesture, composition, and technical suitability. Identify why one near-duplicate succeeds. Ask: what decision should I repeat, and what should I change next time?
Use a simple editing sequence: crop if needed, establish white balance and exposure, refine contrast, then make restrained local adjustments. Compare related photographs for consistent color and brightness. Preserve originals and reversible edits. Processing should support the brief; it cannot reliably repair missed focus or an absent moment.
Try this
Create a twelve-frame contact sheet. Select three, annotate your reasons, and edit a coherent set.
Lesson 07
7. Make reliability part of the craft
Before a session, check batteries, storage, camera behavior, and delivery requirements. Afterward, copy files into a clearly named folder and verify the transfer. Keep independent backups, including a copy in a separate location. Erase cards only after verifying dependable copies. Export for the actual viewing or printing purpose.
Treat people as collaborators. Explain the session, respect boundaries, agree on intended use and sharing, and allow pauses. At events, understand access expectations and avoid obstructing others. Keep captions accurate and discuss changes that alter meaning.
Try this
Write a preparation, transfer, backup, and delivery checklist. Add one care commitment for your next session.
Lesson 08
8. Field assignment: one subject, one intention
Choose a person, place, object, or small event. Write a brief and make a six-image story: context, main subject, detail, relationship, change, and conclusion. Interpret these roles freely. Work through changing light or viewpoint; revisit one decision after reviewing a test frame.
Deliver a consistent six-image set, a contact sheet, and a reflection naming one success, one miss, and one repeatable decision. Check backups and your sharing agreement before delivery.
Try this
Complete the assignment, then repeat one photograph another day using what you learned.
Your field checklist
- Can I state the brief?
- Does the light support it?
- Are essential highlights and detail intact?
- Are focus, depth, and motion intentional?
- Does the background help?
- Does the edited set belong together?
- Are files protected and people respected?
Progress means clearer choices and more dependable results. Keep useful surprises, study the misses, and carry one specific improvement into your next session.
Keep the practice going.
Start here
Learn Photography
Camera basics, the rule of thirds, and knowing when to break the rules.
Open lesson →
Models & collaborators
Being Photographed
Prepare, pose, communicate, and work confidently with photographers and film crews.
Open lesson →
Advanced photography
Build a Body of Work
Shape complex light, direct with purpose, and bring a coherent series to its final form.
Open lesson →
Your creative website
The Signal Room
Learn analytics with seventeen modules, local practice tools, and a ten-question review.
Open lesson →
Creative collaboration
Talking to AI
Turn an idea into a clear brief, give useful feedback, and create with Aurelian while keeping your own voice.
Open lesson →