
Yearbook Academy / Models & collaborators
Being Photographed: A Practical First Lesson
A useful photograph begins with a shared plan, a little curiosity, and permission to speak.
You can take part in a good shoot at any size, age, or experience level. Modeling is a collaboration: the photographer shapes the image, and you bring presence, choices, and feedback. These exercises work for portraits, creative projects, and first professional sessions. There is no single correct way to look or move.
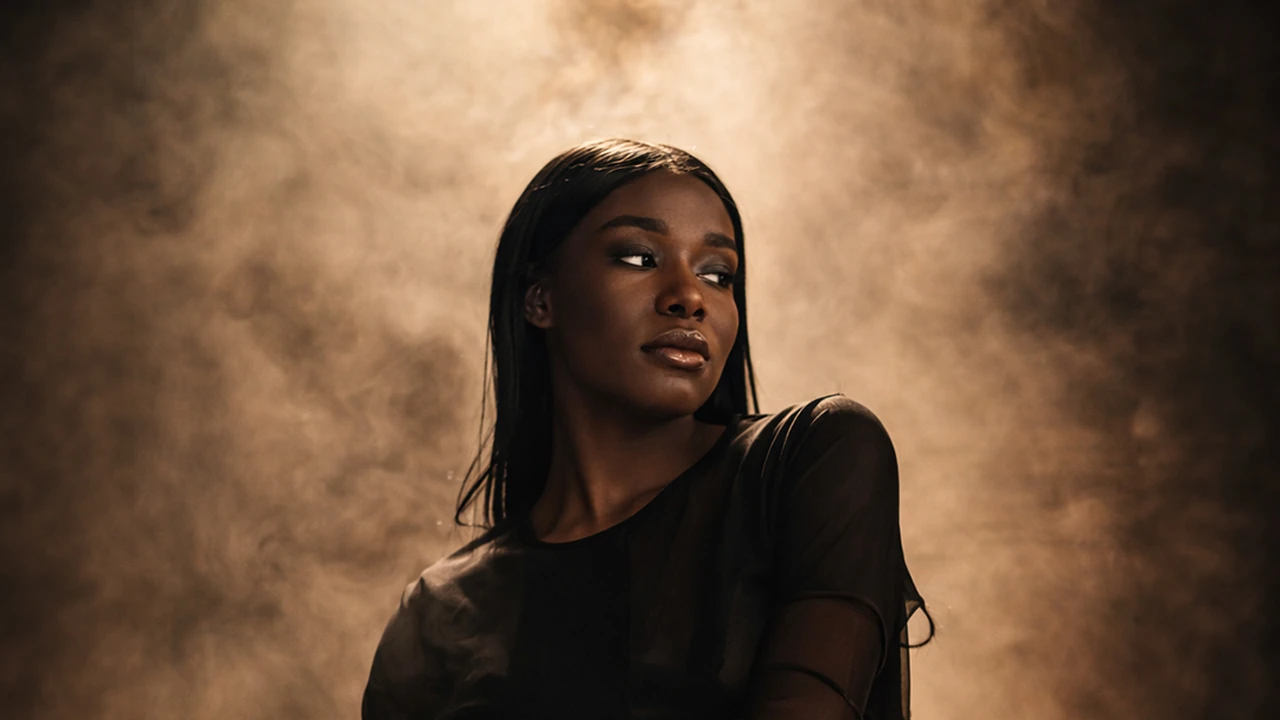
The Kingdom’s characters are fictional teaching voices. Try the prompts, observe the result, and make your own decisions.
Lesson 01
1. Understand the picture you are making
Ask what the photographs are for, who will see them, and what feeling they should carry. A moodboard is a collection of references for light, color, styling, or expression. Ask which part of each reference matters. You can borrow a quiet mood without copying someone else's body or face.
Confirm the location, duration, people attending, and anything you should bring. A clear brief gives you something to work toward.
Try this
Choose three reference images. For each, name one useful quality: soft light, playful energy, a relaxed hand, or another specific detail.
Lesson 02
2. Prepare clothes for the real conditions
Choose agreed outfits that let you breathe and move. Try them sitting, standing, and reaching. Check straps, hems, visible layers, and footwear. Bring a simple backup and weather protection. Ask about changing space before arriving.
On set, let the photographer guide you toward the light. A small turn can change shadows dramatically. Ask before adjusting lamps or equipment. Styling should support your comfort and the picture's purpose.
Try this
Photograph your outfit beside a window, then turn a quarter turn. Notice how fabric, color, and shadows change.
Lesson 03
3. Build a pose one small choice at a time
Start from a comfortable position. Settle your feet or seat, breathe, and release unnecessary tension. Change one thing: weight, shoulder angle, hand placement, gaze, or expression. Pause long enough for the photographer to capture it.
Micro-movements are tiny adjustments, not a stream of new poses. Try a slight head turn or gently uncurl your fingers. Adapt directions to your mobility and balance; seated poses, supports, and stillness are equally useful. Avoid holding anything painful.
Try this
Keep one comfortable base position. Make five photographs, changing only your gaze each time. Compare the feeling, not your worth.
Lesson 04
4. Translate directions into actions
You do not have to understand every instruction immediately. Ask, 'Do you mean turn my body or just my head?' If 'look natural' feels vague, request an action: listen, lean, reach, or notice something nearby.
Share useful feedback: 'I can hold this briefly,' 'That chair feels unstable,' or 'Can you demonstrate without touching me?' Agree on a simple pause signal. Clear communication helps everyone work.
Try this
Practice turning 'look confident' into two actions, such as settling your stance and holding a steady gaze.
Lesson 05
5. Agree on boundaries and image use
Discuss clothing coverage, themes, poses, and touch before the shoot. You can decline a suggestion or change your mind. People should ask before touching you or adjusting your clothing, then respect your answer. For intimate work, confirm privacy and agreed support arrangements in advance.
Put practical agreements in writing: payment, delivery, where images may appear, credit, editing expectations, and whether any approval is promised. Read releases before signing; ask about unclear wording and keep copies. Do not assume that payment gives you approval rights or that a private session stays private.
Try this
Write one boundary and one image-use question. Practice saying both in a calm, direct sentence.
Lesson 06
6. Keep your body and attention supported
Arrive with enough time, water, food, and necessary personal items. Plan breaks for long sessions. Tell the team when you are cold, tired, uncomfortable, or unable to hold a position; you need not explain private health details.
Check unfamiliar locations, access, and who will be present. Share your plans with someone you trust when useful. Stop if equipment, terrain, or a requested action feels unsafe. A photograph is not worth an injury.
Try this
Choose your pause phrase and identify a comfortable place to rest before shooting begins.
Lesson 07
7. Review to learn, not to judge yourself
Ask when a brief review fits the workflow. Look for whether the image meets the brief: expression, posture, clothing, and mood. Describe observable changes rather than criticizing your body.
Try, 'My hand looks tense; I'll soften it,' or 'This quieter expression suits the reference.' Ask what is working from the photographer's perspective. You are making choices together, and an unsuccessful frame is useful information.
Try this
Pick one frame. Name one thing that serves the brief and one small adjustment to test next.
Lesson 08
8. On video and film sets, make actions repeatable
Confirm the scene's intention, your movement, and the cue to begin. A mark shows where to stand or stop; ask someone to explain it. Rehearse slowly so you can find it without looking down. Check where to look and whether dialogue or movement is recorded.
Continuity means matching details across takes: which hand holds a cup, when you sit, or where your jacket rests. Keep the action consistent while responding freshly. Wait for the team's cues before resetting, and report any costume or prop change.
Try this
Film two takes of entering, sitting, and lifting a cup. Match your timing and hand, then compare the takes.
Your field checklist
- Confirm purpose, moodboard, location, schedule, and attending team.
- Agree on payment, image use, delivery, and any approval process.
- State clothing, pose, touch, and privacy boundaries.
- Try on outfits; pack a backup and suitable footwear.
- Check transport, changing space, accessibility, and weather.
- Pack water, a snack, and personal essentials.
- Choose a pause phrase and plan rest breaks.
- For video, confirm marks, cues, props, and continuity details.
Your job is to participate, notice, and communicate. Begin with one comfortable position and one clear intention. Skill grows through small experiments, respectful feedback, and a team that gives everyone room to contribute.
Keep the practice going.
Start here
Learn Photography
Camera basics, the rule of thirds, and knowing when to break the rules.
Open lesson →
Intermediate photography
Intentional Photographs
Connect light, exposure, focus, and storytelling through a repeatable workflow.
Open lesson →
Advanced photography
Build a Body of Work
Shape complex light, direct with purpose, and bring a coherent series to its final form.
Open lesson →
Your creative website
The Signal Room
Learn analytics with seventeen modules, local practice tools, and a ten-question review.
Open lesson →
Creative collaboration
Talking to AI
Turn an idea into a clear brief, give useful feedback, and create with Aurelian while keeping your own voice.
Open lesson →