
Photography for beginners / Cord Allman & Criminal Code
Learn the frame.
Then break it.
Cord Allman / the craft
The first lesson I learned was the rule of thirds. The biggest was knowing when to break the rules of photography. Start with the camera you have. We’ll build from there.
Lesson 01
Give the eye somewhere to land.
Cord Allman / the craft
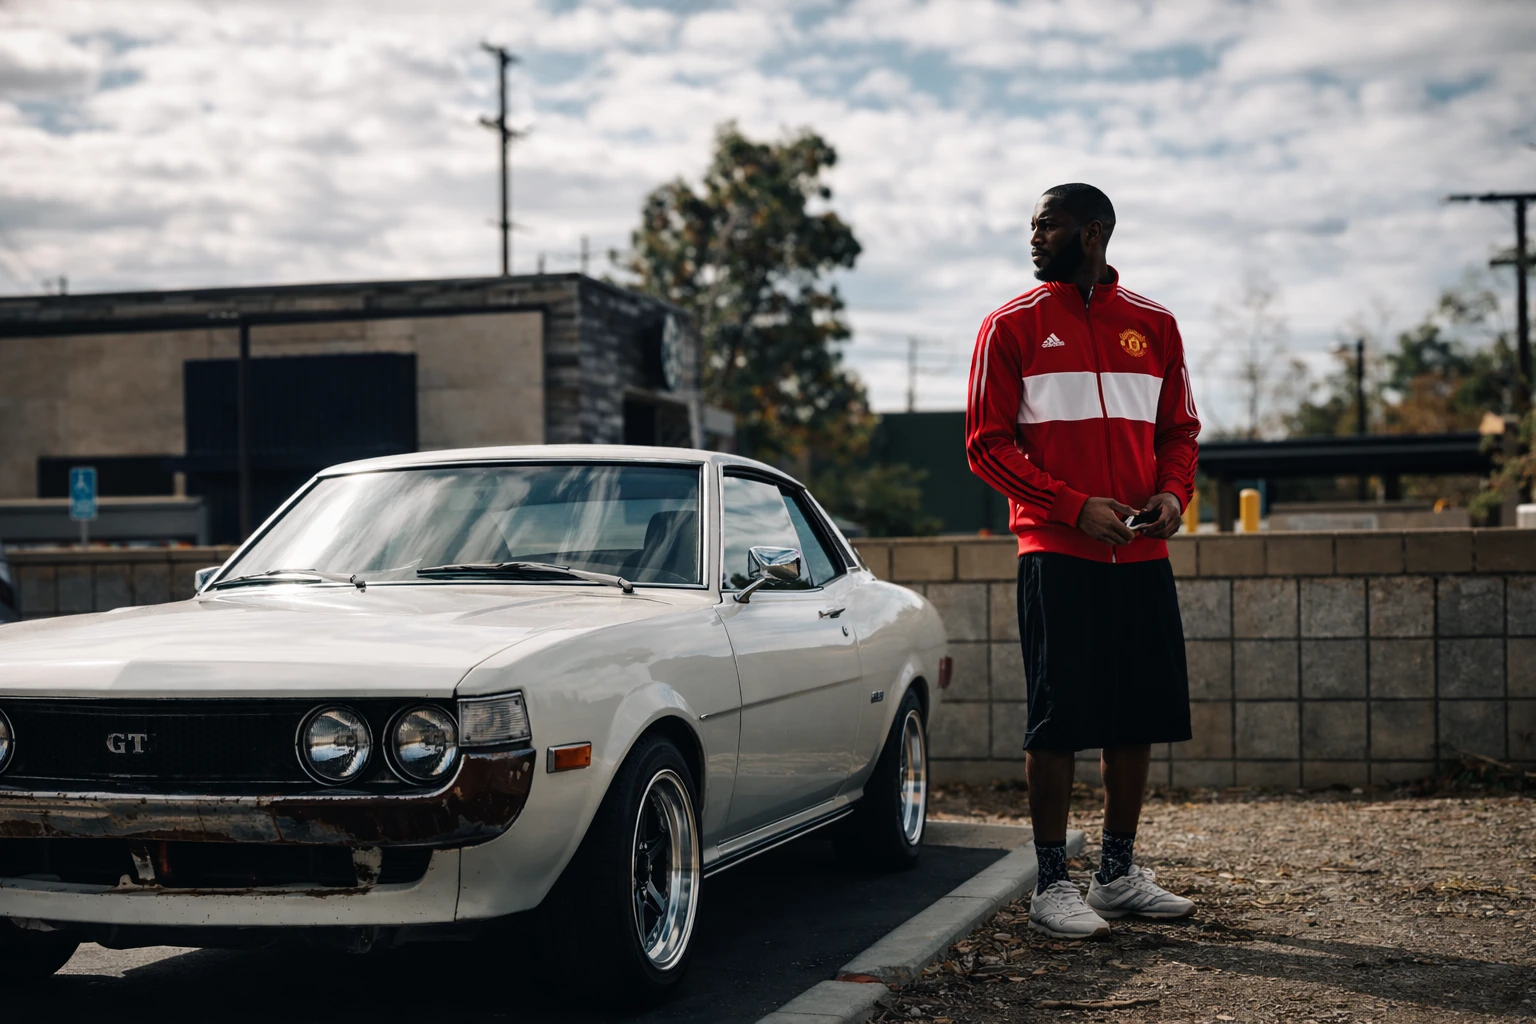
Divide the frame into nine equal rectangles. Two vertical lines, two horizontal lines. Try placing the important part of your subject near a crossing, or a horizon along a horizontal line. It gives you a starting point for balancing the subject with the space around it.
Try this. Switch on your camera’s grid. Photograph the same subject near the left third, near the right third, then in the centre. Which placement helps you notice what matters?
Lesson 02
Look at the light before the settings.
Cord Allman / the craft
Notice its direction and the edges of its shadows. Window light or open shade can be a forgiving place to begin. Direct sun often gives harder shadows. Light from the side reveals shape; light behind a subject can make a rim or silhouette. Move yourself or your subject and watch what changes.
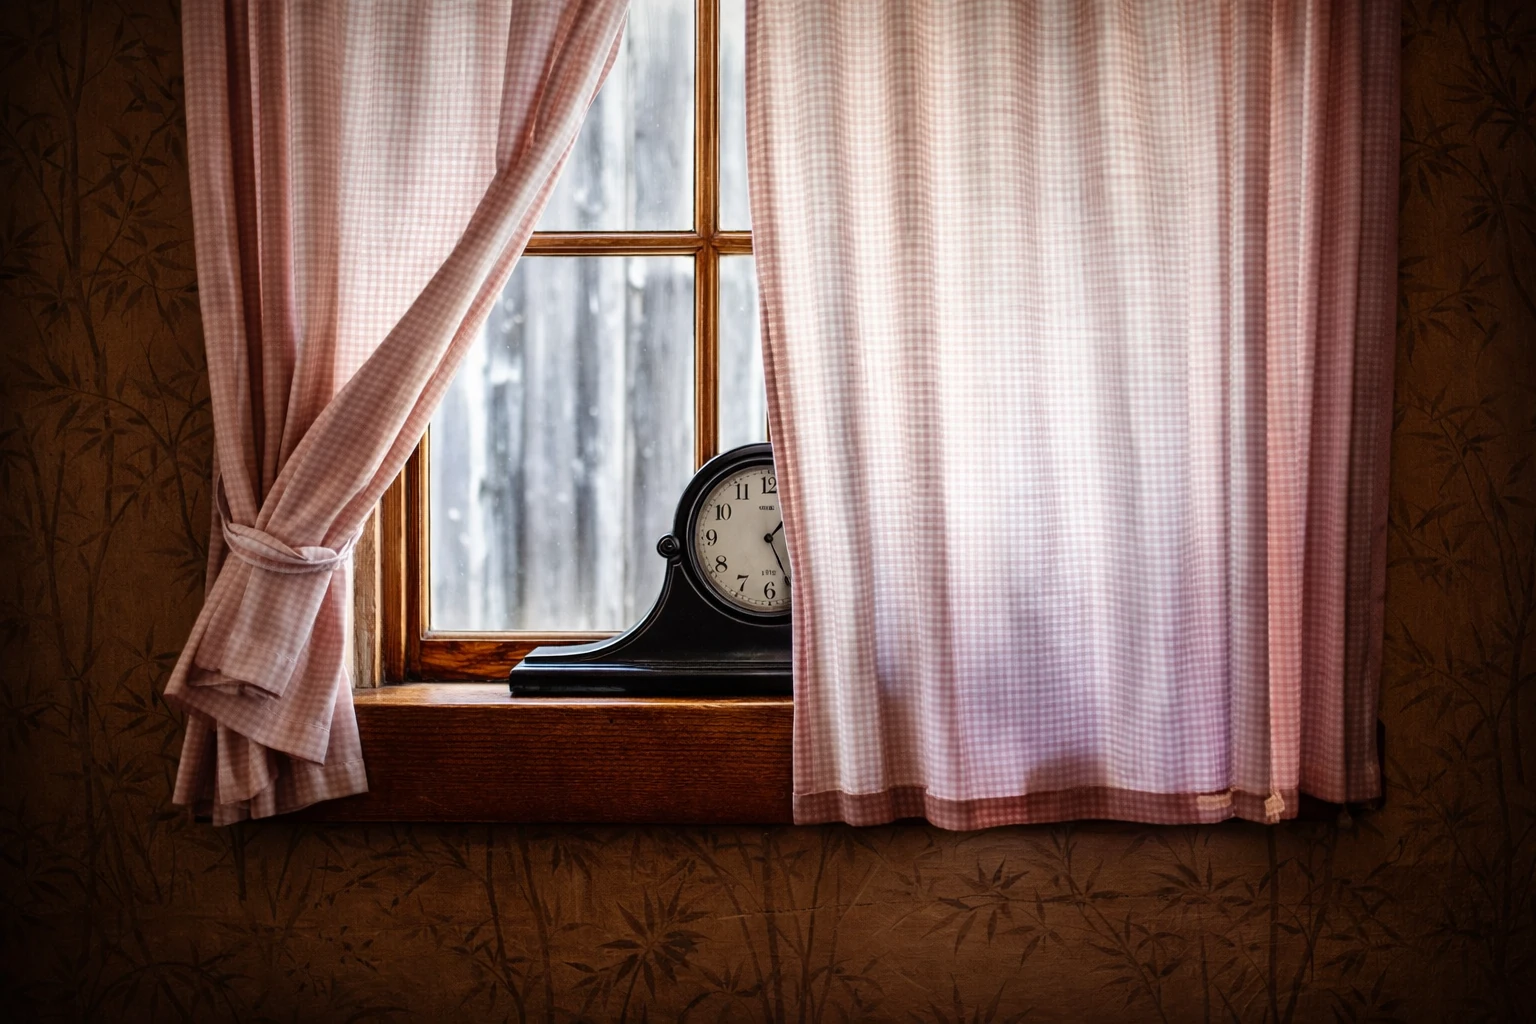
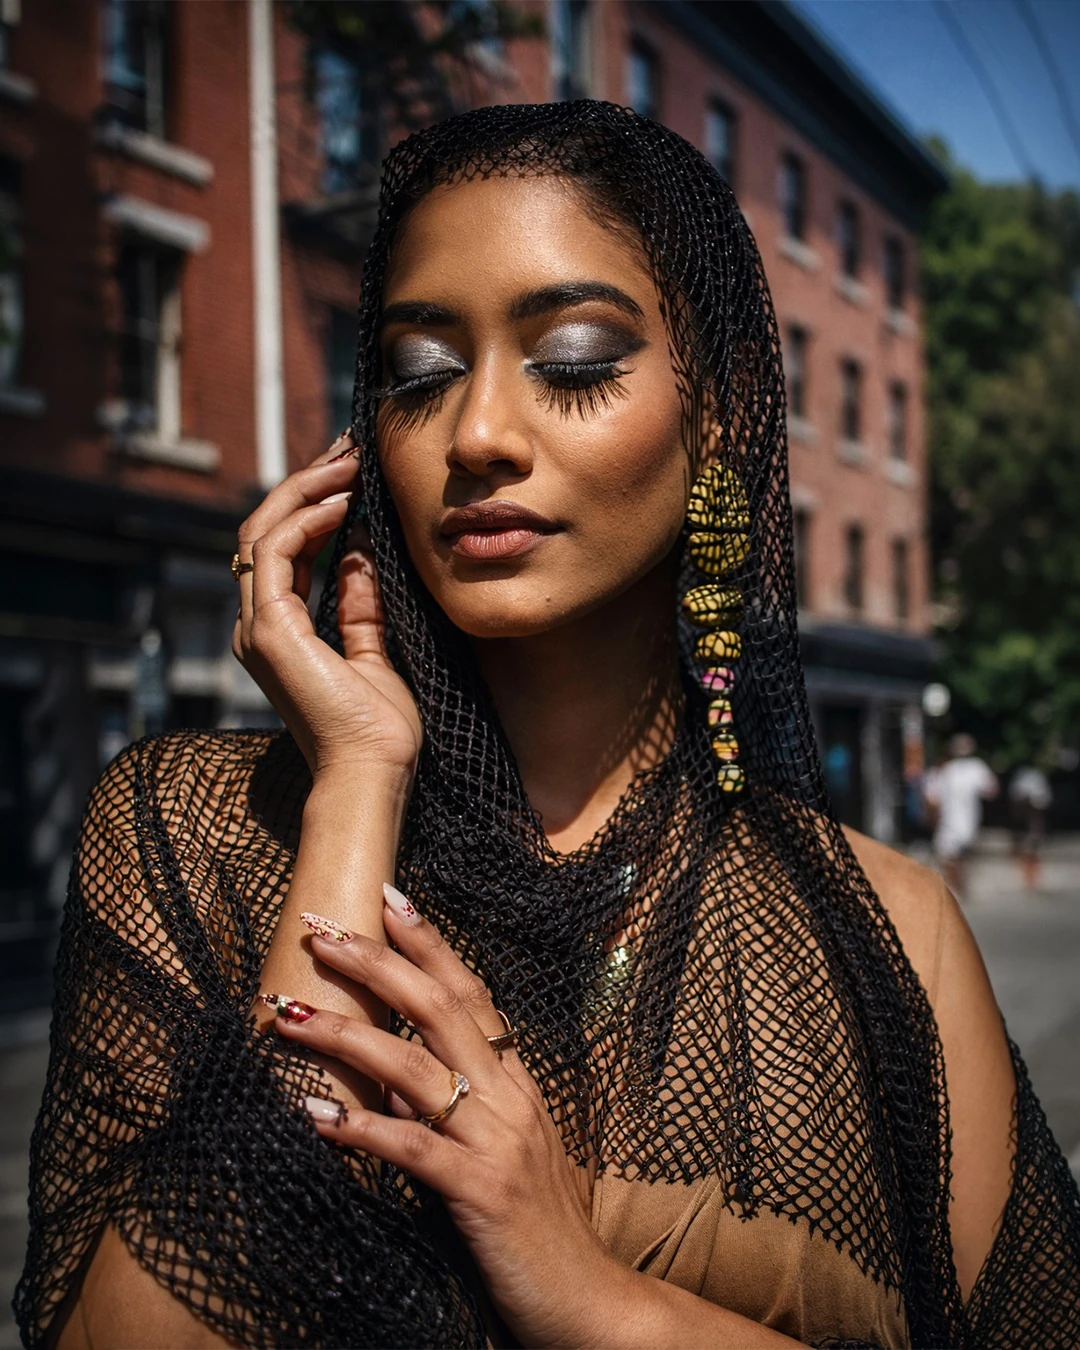
Try this. Place an object beside a window. Photograph it with the window behind you, beside you, then behind the object. Keep the object still; compare the shadows.
Lesson 03
Three controls. Different jobs.
Cord Allman / the craft
Decide what the photograph needs first. A still moment? A moving subject? A background full of detail? Aperture and shutter speed control how much light reaches the sensor. ISO helps set the recorded image’s brightness. They work together, but changing each has different consequences.
f/2.8 → f/8
Aperture
The opening in the lens. A lower f-number means a wider opening and more light. A higher f-number means a smaller opening and less light.
Creative choice: at the same framing and focus distance, f/2.8 gives a shallower zone of acceptable sharpness than f/8. This is depth of field. Distance and focal length matter too.
1/1000 s → 1/30 s
Shutter speed
The length of the exposure. 1/1000 second is faster than 1/30. Faster speeds admit less light and help freeze movement; slower speeds admit more light and can show movement as blur.
Creative choice: freeze the gesture or let it leave a trail. A tripod steadies the camera; it cannot stop a moving person.
ISO 200 → ISO 1600
ISO
At the same aperture and shutter speed, a higher digital ISO generally produces a brighter result. It does not add light at the sensor.
Practical choice: raise it when you need to keep a faster shutter speed in dim light. Low-light results often show more noise. A sharp moment can matter more than perfectly smooth pixels.
A stop means doubling or halving. From 1/250 to 1/500 second is one stop less light. Opening from f/4 to f/2.8 adds about one stop, balancing that change if ISO stays fixed. Auto exposure may compensate for a dial change, so watch the other settings.
Try this. In shutter priority, photograph a moving hand at 1/30, then 1/500 second in enough light. Check whether the camera could expose both frames, then compare the movement. These are experiment settings, not the settings used in the photographs on this page.
Lesson 04
You do not have to earn manual mode.
Cord Allman / the craft
Use the mode that makes the next decision easier. Auto is a valid start. Then try controlling one thing while the camera helps with the rest. Check the actual shutter speed and brightness after a test frame. Names and available controls vary by camera.
| Mode | Your decision | Useful when |
|---|---|---|
| Auto / P | Auto makes many choices. P selects aperture and shutter while usually leaving you more control over other settings. | You want to practise seeing and timing first. |
| A / Av | You set the aperture; the camera meters and chooses a shutter speed. | You care about how much of the scene appears sharp. |
| S / Tv | You set the shutter speed; the camera meters and chooses an aperture. | You want to freeze movement or explore blur. |
| M | You set aperture and shutter speed. ISO may be fixed or automatic. | You want direct control, such as in consistent lighting. |
Too bright or too dark? In a compatible automatic exposure mode, try exposure compensation: + asks for brighter, − for darker. It is not a separate source of light. Its effect depends on the mode and Auto ISO; in full manual with fixed ISO, change the exposure settings yourself.
Try this. Try aperture priority and Auto ISO for a still subject. Choose an aperture your lens offers, take a frame and inspect the shutter speed. If movement blurs, increase the available light or choose settings that permit a faster shutter.
Lesson 05
Tell the camera what matters.
Cord Allman / the craft
Put focus on the part you want us to notice. For a portrait, begin with the nearer eye. Single autofocus (often AF-S or One Shot) suits a still subject; continuous autofocus (often AF-C or Servo) keeps adjusting for movement. Eye detection can help when available. Check that it selected the right person.
- Learn the shutter button. On most cameras, a half-press starts focusing and metering; a full press takes the photograph. Custom button assignments can change this.
- Support the camera. Keep your elbows comfortable and your grip steady. Press the shutter gently.
- Look closely at playback. Zoom in on the intended point of focus. Check for missed focus and movement blur separately.
- Give yourself some depth. A very wide aperture can leave one eye or a second person soft. Try a smaller opening when you need more of the scene sharp.
- Using a phone? Clean the lens, tap your subject to focus and adjust brightness with the available control. Menu options vary.
Try this. Photograph one stationary object, then someone walking who is happy to take part. Compare single and continuous autofocus. Review what stayed sharp and what moved out of focus.
Lesson 06
Build the whole frame.
Cord Allman / the craft
The background is in your photograph too. Before pressing the shutter, let your eye travel around the edges. A small step can separate a face from a pole, simplify a busy backdrop or give a gesture room. Composition is deciding what belongs, and how the parts relate.
Lines & layers
Use a path, railing or shadow to guide attention. Foreground, subject and background can give a flat image a sense of depth.
Space & balance
Leave room in the direction a subject looks or moves. Empty space can suggest calm or isolation. Try filling the frame too.
Edges & viewpoint
Notice accidental crops at hands and feet, tilted horizons and distracting bright corners. Try higher, lower, closer and farther viewpoints.
Zoom is not focus. On the same camera, a shorter focal length (the number in millimetres on the lens) gives a wider view; a longer focal length gives a narrower one. Zoom changes the framing. Focus chooses the distance that is sharp.
Try this. Take three frames without changing your lens: standing, crouching, then a step to the side. Choose the one with the clearest relationship between subject and background.
Lesson 07
Break the rule.
Keep the reason.
Cord Allman / the craft
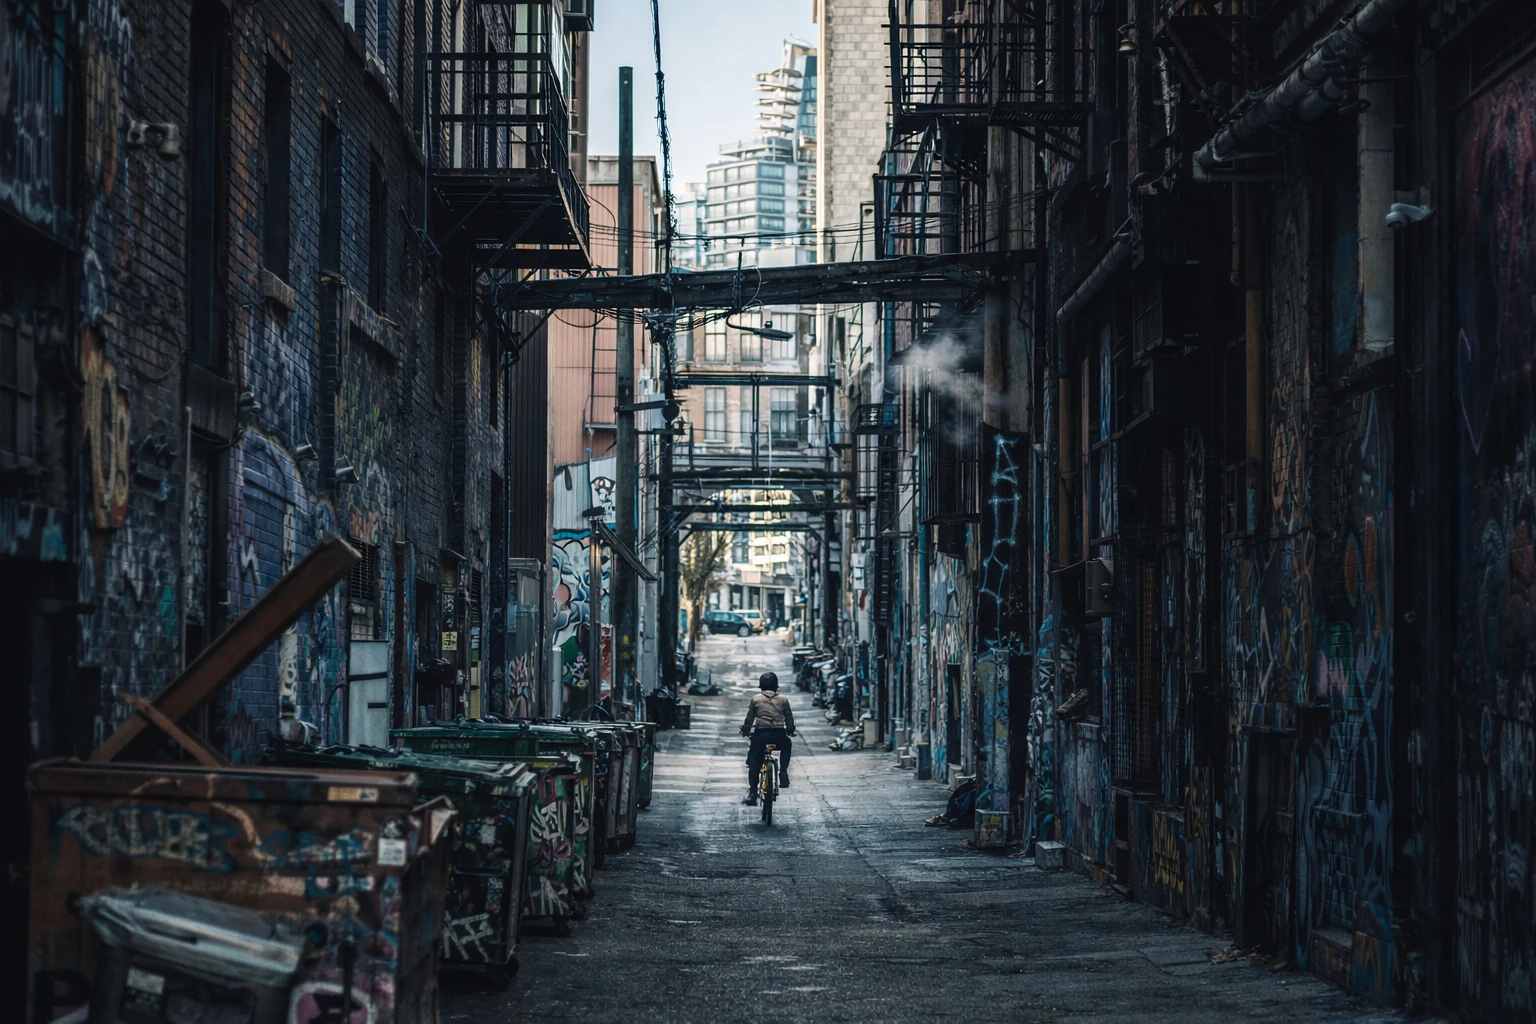
Ask what the rule was helping you do. Then ask whether a different choice tells this story better. A centred subject can feel direct. A shadow can leave something unsaid. Blur can carry motion. Make the conventional frame, make the experiment, then choose by what the photograph communicates.
Try this. Make one frame that follows a rule and one that deliberately breaks it. Finish this sentence for each: “I chose this because…” Keep the photograph whose reason you can see.
| A useful starting rule | An intentional exception |
|---|---|
| Keep the subject off-centre. | Centre it when symmetry, confrontation or converging lines give it strength. |
| Freeze the action. | Use controlled blur when movement is the feeling you want to keep. |
| Show detail in the subject. | Let a silhouette speak through its outline when the shape carries the story. |
| Keep the horizon level. | Tilt deliberately for tension. Check whether it feels purposeful or simply distracting. |
The boundary that stays: creative freedom still respects people and places. Ask before directing someone, honour a no, and get permission to enter a location.
Lesson 08
Review the frame. Then refine it.
Cord Allman / the craft
Pick the moment before picking the preset. Check expression, focus and composition. Adjust brightness and white balance—the warmth or coolness of the image—then make small changes to contrast and colour. Compare with the original. Keep an untouched copy and a backup.
JPEG or RAW? JPEG is processed by the camera and ready to share. RAW keeps more capture data for editing, needs compatible software and usually takes more space. RAW+JPEG offers both when supported. None of them can reliably recover a missed focus or every blown highlight.
A frame went wrong. What should I check?
- The whole image is blurry.
- Check shutter speed and camera movement. Steady your grip or use support; test a faster shutter.
- The background is sharp, but my subject is not.
- Check the selected focus point and focus mode. If only part of the subject is sharp, check depth of field too.
- My photo looks orange or blue.
- Check white balance and mixed lighting. Adjust toward a believable result, or retain a colour cast deliberately.
- The brightest areas have no detail.
- Try a darker exposure and check again. Highlight warnings can help; lost detail may not return in editing.
- The photo feels cluttered.
- Change your position, simplify the background or choose a tighter frame. Decide what the image is about.
Lesson 09
One walk. Six deliberate photographs.
Cord Allman / the craft
Use one camera and one place. Find a safe, accessible spot and give yourself twenty minutes. You can do the whole exercise at home. Make these six frames, then choose one you want to understand better.
- A third. Place the subject near a grid line.
- A centre. Give the same subject the middle.
- A shadow. Let the light describe a shape.
- A movement. Choose stillness or blur.
- A detail. Get closer to something small.
- An exception. Break one rule with a reason.
When you return: what catches your eye first? What distracts from it? What would you change next time? Keep one frame and one lesson.
Cord Allman
less we fear the fall
Criminal Code
Now go make the frame only you would have noticed.